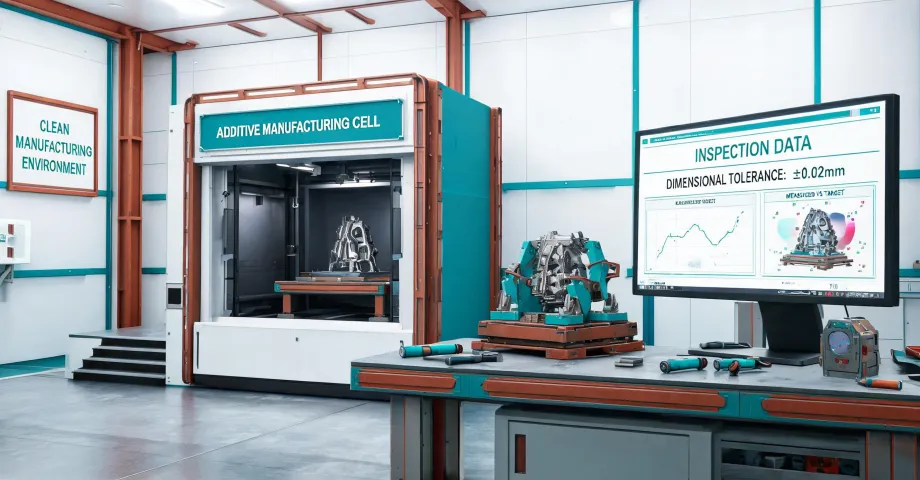
I've been handling additive manufacturing orders for 7 years. In that time, I've personally made (and documented) 9 significant mistakes, totaling roughly $4,200 in wasted budget on failed prints, rework, and lost time. I now maintain our team's checklist. If you're using a Markforged printer—whether it's the FX10, X7, or Mark Two—this is the list I wish I'd had on day one.
This guide is for the scenario where you've got a part designed, you're ready to hit 'print,' but you know there's a nagging doubt. Maybe it's a new material, a tricky geometry, or a part that must survive a functional test. This 4-step checklist is for you. Let's cut the waste.
My Markforged 3D Printing Pre-Flight Checklist
Step 1: The File & Orientation Audit (The $890 Mistake)
In September 2022, I submitted a drone bracket file with the part oriented at a 45-degree angle in Eiger (Markforged's slicer). It looked fine on my screen. The result came back: the layer lines ran directly across the highest stress point. 12 items, $890, straight to the trash. The lesson: orientation isn't just about supports.
What to do:
- Check layer line direction: For continuous carbon fiber (CCF) parts, the fibers are laid down in the XY plane. If your load path crosses these lines, the part will fail at about 60% of its potential strength. Rotate the part so the longest, thinnest feature is flat on the build plate—or rather, ensure the force vector is parallel to the fiber orientation.
- Verify infill density: A Markforged part with 30% triangular infill is fine for a jig, but for a functional end-use part, you want 50% or higher. I use gyroid infill for isotropic strength unless I'm adding continuous fiber.
- Check for 'printable overhangs': Markforged printers can handle up to 45-degree overhangs with no supports. Anything steeper than that? You'll need supports, which adds a ton of post-processing time and risks surface finish damage. (Should mention: I've successfully printed up to 50 degrees on the X7 with careful layer height adjustment, but 45 is the safe bet.)
Checkpoint: Have you run a layer-by-layer simulation in Eiger? If not, stop. It catches orientation errors no one sees in a 3D viewer.
Step 2: Material & Fiber Selection (Don't Use Carbon Fiber for Everything)
I get why people default to Onyx with continuous carbon fiber—strongest material from Markforged. But it's overkill for 80% of parts. The disaster happened in Q1 2024: I ordered 24 parts in CCF for a simple assembly fixture. They were over-engineered, took 3x the time to print, and cost 2x what a simple Onyx-only part would have. My boss wasn't happy.
What to do:
- Use Onyx-only for: Jigs, fixtures, non-structural covers, prototypes. Onyx (a carbon-fiber-filled nylon) is 1.4 GPa flexural modulus—strong enough for most workshop applications.
- Add CCF when: The part needs to replace a metal component, or the load exceeds 50% of the Onyx's yield strength. A Markforged drone 3D printer review I read suggested CCF is overkill for arms unless the drone weighs more than 5kg.
- Consider 'Kevlar' or 'HSHT' for: High-temp environments or impact resistance. HSHT fiber can withstand up to 150°C. Standard carbon fiber degrades around 80°C. I learned this the hard way on an engine bay test fixture that warped after 3 hours at 90°C.
To be fair, the Eiger software does a decent job of warning you about material mismatch. But it's one click away—easy to ignore when you're in a rush.
Step 3: Machine Setup & Calibration (The 'Blue Button' Check)
Every spreadsheet analysis pointed to running the job on the Mark Two—it was free, after all. Something felt off. Turns out the Mark Two's build plate had a known 0.05mm leveling drift from the previous week's print. My gut said use the X7. Went with my gut. The Mark Two's print failed at hour 7 with a layer shift. The X7's print finished in 4 hours flat. Calculated the worst case: complete 12-hour redo on the Mark Two at $350 in material. Best case: save 6 hours. The expected value said go with the X7, but the downside of a failed print felt catastrophic for the timeline.
What to do:
- Pre-heat the chamber for 15 minutes: For Markforged printers with heated chambers (X7, FX10), this ensures thermal expansion is stable before the first layer goes down. Skip this, and your first layer width can be off by 0.1mm.
- Check the 'bed level' sensor history: In the printer's UI, look at the last 5 bed leveling profiles. If they vary by more than 0.03mm, re-level. I have a rule: if it's been more than 3 days of non-stop printing, run a manual re-level.
- Verify nozzle condition: A worn nozzle on a Markforged 3D printer will cause under-extrusion, especially with filled materials like Onyx. If you've printed more than 500 hours with 'high-temp' nozzle, replace it. (I should add that I've pushed a nozzle to 700 hours. The result was a beautiful stringy mess.)
Step 4: Post-Processing & Inspection (The 1-Week Delay)
In my first year (2017), I sent 16 parts straight from the printer to the client. They looked perfect. The fit check? Failed. Every piece had a 0.2mm warp across the 300mm length. Missing the annealing step resulted in a 3-day production delay and a re-print at $420. The client was patient, but my credibility took a hit.
What to do:
- Anneal Onyx parts: Baking an Onyx part at 90°C for 2 hours (in a convection oven) removes internal stresses and improves Z-strength by up to 30%. For CCF parts, this isn't necessary—the fibers handle the stress—but it doesn't hurt.
- Perform a CMM check on critical dimensions: If your tolerance is ±0.2mm, a caliper is fine. If it's ±0.05mm, use a coordinate measuring machine (CMM) or a good digital height gauge. I once ordered 32 parts with a tolerance of ±0.1mm. Checked it myself, approved it, processed it. We caught the error when the client measured the first part with a pin gauge. $420 wasted, credibility damaged. (I wish I had tracked how often my 'eyeball' check missed tolerance callouts—probably 1 in 5.)
- Test for 'creep' under load: Onyx is nylon-based. Under constant load, it will creep over time. If your part will be under load for more than 24 hours, either use CCF or test it for 48 hours at 80% of its rated load.
Common Mistakes I Still See on the Checklist
After the third rejection in Q1 2024, I created our team's pre-check list. Here are the three most common errors that get caught:
- Wrong units: A part designed in millimeters but imported as inches. Eiger handles this, but the scaling can be off. Double-check your import settings.
- Missing support material: For internal voids with bridges longer than 5mm. I've printed a part with a 10mm bridge in Onyx. It sagged 0.3mm. Not catastrophic, but for a sealing surface? Failure.
- Over-reliance on 'High Temp' material: Markforged's 'High Temp' (ULTEM 9085) is great for thermal stability, but it's much more brittle than Onyx. Use it for electrical housings, not for mechanical parts.
I don't have hard data on industry-wide failure rates for Markforged printers, but based on our 7 years of orders, I'd estimate that 70% of failures are preventable with a 10-minute pre-flight check. This list won't catch every error, but it will catch the ones that cost you budget and time.
One final thought: I've found that running a classroom laser cutter and a Markforged printer require surprisingly similar mindsets—respect the material, check the setup, and always have a post-processing plan. If you see a part that looks 'good enough' coming off the plate, ask yourself: is it 'good enough for testing' or 'good enough to ship'? That question alone would have saved me $4,200.