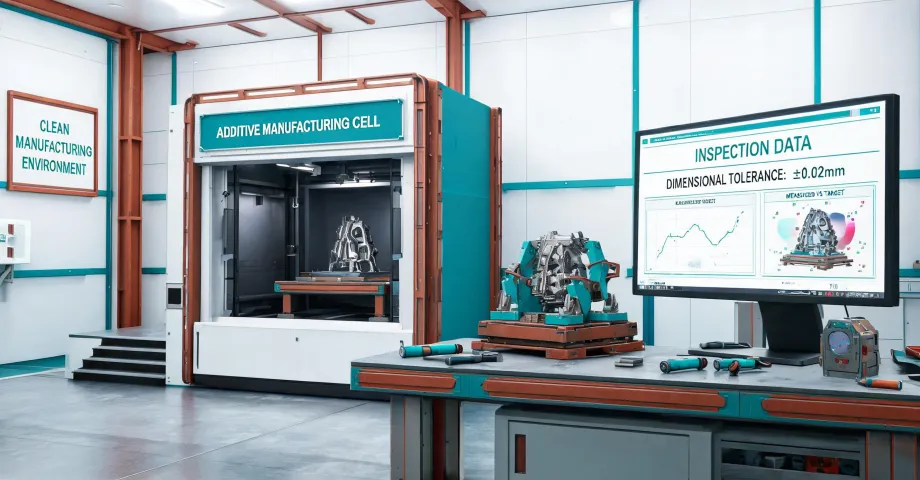
I've spent nine years in a small job shop, mostly custom machining and light manufacturing. In that time, I've personally made—and documented—six significant mistakes that cost us roughly $40,000 in wasted budget. Maybe $45,000 if I include the overtime. I keep a checklist now so the people on my team don't repeat them. This is the one I wish I had before buying our first Markforged system.
If you're an engineer or shop manager evaluating an industrial 3D printer, this list is for you. It assumes you've already searched “markforged metal 3d printer price” and “markforged x7 3d printer price” and are now trying to figure out what actually matters before you sign.
Step 1: Budget for total cost of ownership, not the sticker price
The first mistake is trusting the headline number. Markforged printers aren't cheap, but the machine price is only the beginning. You're also paying for software, materials, post-processing, tooling, and the learning curve before your first good part.
The X7 quote we received in late 2024 was still valid as of January 2025, and the base price alone was enough to make me nervous. Then we added the software subscription, initial material kit, spare print heads, and the time to train our guys. By the time we printed our first production-quality part, we'd spent roughly $100k on what I initially thought was a “$70k printer.”
The same pattern applies to metal. The “markforged metal 3d printer price” is often quoted as the machine only. The washing station, sintering furnace, debinding supplies, and metal filament are separate line items. If you don't budget for them, you'll be partway through and suddenly need $20k more.
Why does this matter? Because the cheapest quote on paper can be the most expensive system in reality. Here's my favorite personal example: I saved $8,000 by choosing a lower-spec system and skipping the advanced maintenance plan. Then I paid $19,000 for rush rework, a spare print head, and a service call because we had no support. Penny wise, pound foolish. Nobody wants that t-shirt.
Checklist item: list every cost line before you negotiate the printer price. Machine, software subscription, materials, post-processing, installation, training, and a maintenance reserve. The total cost of ownership is the number that matters.
Step 2: Verify the technology—it's extrusion and sintering, not laser
During my research phase, I spent hours reading about fiber laser source lifespan. I was convinced that industrial metal printing meant lasers, and I needed to estimate replacement cost. But Markforged's process is different. Their composite and metal systems are based on fused filament fabrication (FFF). Metal parts are printed via extrusion, then debound and sintered in a furnace. There's no laser melting powder on a bed.
That changes your cost model significantly. With a laser powder bed system (SLM/DMLS), the laser source is a major long-term expense. With Markforged, you're replacing nozzles and wear parts and maintaining a sintering furnace instead.
Another thing I got wrong: I researched the Markforged X7 as if it were a metal printer. It's a composite printer—Onyx and carbon fiber. Metal printing is handled by the Metal X line, not the X7. Don't assume the highest-end model prints everything. I wasted three weeks—no, six weeks—comparing quotes that were never going to work for my application. Check the material matrix first, then look at price.
So the checklist item is: does your application actually need laser powder bed fusion? If not, fiber laser source lifespan is a distraction. Match the process to the part, not to the buzzword.
I should add that the metal workflow also surprised me with its space requirements. The furnace and washing station took up about as much floor space as a second printer. If you're planning a Markforged metal setup, measure that footprint before you commit.
Step 3: Plan for post-machining, especially holes
3D printed holes are rarely precision holes. If your part needs a bearing seat, a dowel pin, or a threaded insert, you need to plan for machining after printing.
Example: a 13.5 mm bore for a close-fit pin. Print it slightly undersized—maybe 13.3 mm—then ream to final size. The 17/32 reamer is exactly 13.49 mm, which covers that size nicely. It became one of our standard tools for finishing printed bores.
Don't assume the printer's resolution gives you a finished tolerance. In mechanical fitting, standards like ISO 286 define fit classes (clearance, transition, interference), and those still apply to printed parts. You have to leave stock for the machining pass, or you'll be manually sanding holes and chasing tolerances.
I learned this by ignoring it. Everyone warned me: “design for post-processing.” I believed the marketing about high dimensional accuracy. The first assembly didn't fit. Six parts, $890 in scrap, and a week of schedule delay later, I believed. Now I add a machining allowance to every functional hole before I hit “print.” (Note to self: document this rule in the newest work instruction.)
Step 4: Design for 3D printing, not just in CAD
“How to make designs for 3d printers?” is one of the most common questions we get. The answer isn't just “set up your slicer correctly.” It starts with the part geometry. The design has to account for the process from the print bed all the way to the final machined surface.
- Print orientation matters. Layers are weaker in tension. Orient the part so the critical loaded direction matches the layer direction that makes sense for your load case.
- Avoid unsupported overhangs. If you can't avoid them, either add supports that you can remove cleanly or reorient the part.
- Don't use thin walls for structural parts. A wall that looks fine in CAD can peel or crack during support removal. I've lost parts that were “optimized” too aggressively.
- Leave stock on surfaces that need machining. Same rule as step 3—print near net shape, then finish to tolerance.
- Internal features need a cleanup path. If you design a deep pocket or internal channel, make sure you can mechanically or chemically remove the support material. A beautiful internal lattice can become a trap that ruins the part.
What I mean by “design for 3D printing” is this: every step from the print bed to the final hole tolerance has to be part of the CAD model. I designed a lightweight bracket once with a beautiful internal lattice. It printed fine, but the support structure inside was impossible to remove cleanly, and a small chip cracked one of the load-bearing surfaces. A simpler design with a removable support web would have worked better and finished faster. Sometimes the best design is the boring one.
Final check: take advantage of the small test order
I'll add one more thing because it's saved me more grief than any of the technical points. When you're evaluating a supplier—or a printer—start with a small test order and see how they treat you.
We once worked with a vendor who treated our $200 test order like a nuisance. They delayed, ignored specs, and basically ghosted us on support. That was a red flag for the bigger order we almost placed. On the flip side, the Markforged reseller we eventually used treated our small prototyping run like a priority. Good partners don't judge by order size; they know small orders grow into big ones.
Small doesn't mean unimportant. A test part with real tolerances tells you more about the process than any brochure or spec sheet will.
If you take one thing from this list: the machine price is just the entry ticket. Its process, software, post-processing, and supplier relationship determine whether you win or lose money.